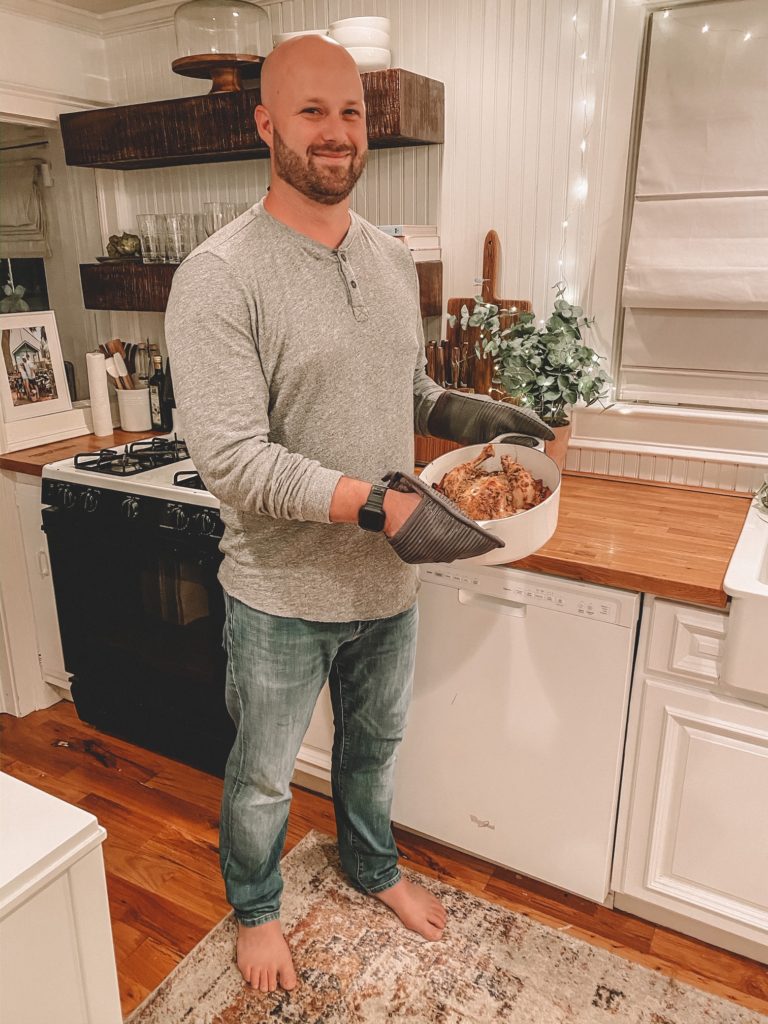
GARLIC HERB BUTTER ROASTED CHICKEN IN A DUTCH OVEN // Cooking With Orvil


WHAT YOU’LL NEED TO MAKE A GARLIC HERB BUTTER ROASTED CHICKEN IN A DUTCH OVEN
- bread
- potatoes
- garlic
- olive oil
- salt and pepper
- chicken
- soften/room temperature garlic butter
- basil
- lemon
- thyme
HOW TO ROAST A CHICKEN IN A DUTCH OVEN
- Heat the oven to 375F.
- Chop up your slices of bread and potatoes into 6 and crush 1 bulb’s worth of garlic cloves. Gently toss the potato and garlic with a bit of olive oil and salt/pepper.
- Place an even single layer into the Dutch oven and then place the rest into the Dutch oven towards the side. Leaving a space in the middle for the chicken. The little well you made lets the chicken roast without sitting in it’s own liquid for a long period of time. Check out the image below to see what I mean!
- Next you’re going to want to salt your chicken before rubbing an even layer of garlic butter mixed with chopped basil onto the entire chicken. For maximum flavour, get some of the butter under the chicken’s skin as well (especially the breast area).
- Once done, you can stuff the chicken’s cavity with some crushed garlic cloves and half a lemon before placing it into the Dutch oven.
- Place a couple pieces of thyme around the chicken and place the lid on the Dutch oven.
- Place your Dutch oven in the lowest rack of your oven and let cook for 1 hour.
- After an hour, remove the lid, and thyme, and let the chicken roast for another 30 minutes. Use a meat thermometer to make sure the thickest part of the chicken thigh is at least 165F/75C to tell when the chicken is ready.
- For super crisp skin, you can brush on some extra butter on top of the chicken and set your oven to broil for 5 minutes (keeping an eye on it to make sure it doesn’t burn).
- Once done, let your chicken rest for at least 20 minutes before slicing and serving.
TIPS AND NOTES ON MAKING THIS ROAST CHICKEN IN A DUTCH OVEN
Getting the garlic herb butter under the skin of the chicken breast makes the chicken that much more delicious! If you’ve got the time, don’t skip this step.
Other vegetables you can use to prop up the chicken with are sweet potatoes, squash, onions, etc.
Ingredients
- 6 slices bread
- 2-3 potatoes more if you’d like
- 2 bulbs garlic
- 2 tbsp olive oil
- salt and pepper
- 3-3.5 lb chicken
- 1 stick garlic buttersoften/room temperature (113 grams)
- 6-10 basil leaves
- 1/2 lemon
- thyme
Instructions
- Heat the oven to 375F.
- Chop up your slices of bread and potatoes into 6 and crush 1 bulb’s worth of garlic cloves. Gently toss the potato and garlic with a bit of olive oil and salt/pepper.
- Place an even single layer into the Dutch oven and then place the rest into the Dutch oven towards the side. Leaving a space in the middle for the chicken.
- Salt your chicken before rubbing an even layer of garlic butter mixed with chopped basil onto the entire chicken. For maximum flavour, get some of the butter under the chicken’s skin as well (especially the breast area).
- Once done, you can stuff the chicken’s cavity with some crushed garlic cloves and half a lemon before placing it into the Dutch oven.
- Place a couple pieces of thyme around the chicken and place the lid on the Dutch oven.
- Place your Dutch oven in the lowest rack of your oven and let cook for 1 hour.
- After an hour, remove the lid, and thyme, and let the chicken roast for another 30 minutes. Use a meat thermometer to make sure the thickest part of the chicken thigh is at least 165F/75C to tell when the chicken is ready.
- For super crisp skin, you can brush on some extra butter on top of the chicken and set your oven to broil for 5 minutes (keeping an eye on it to make sure it doesn’t burn).
- Once done, let your chicken rest for at least 20 minutes before slicing and serving.


Kellie Garcia
Can’t wait to try this for our next family dinner 🤗, love your family,
The Garcia Posse,
Kellie, Javier Jake, Bridgette & Brielle ❤️🙏
Sarah Hollingshead Ray
Kellie GarciaYay! You will love it!
Kim Adkins
Can’t wait to try chicken garlic recepie. Praying for yall, hope your pain gets better and you hard to have scheduled c-section. 💝💝💝So hapoy for you!!!💝💝💝
Sarah Hollingshead Ray
Kim AdkinsThank you, Kim. That means so much to us. Big hugs!!
Kris
I can’t wait to try this! This looks good and easy, simple recipe!
Sarah Hollingshead Ray
KrisThank you so much! It is delish
Catina
Hey Sarah and Orvil! This looks delish! Quick question! Do you discard the bread after baking? Is it for the sole purpose of soaking up the juices?
Can’t wait to try this! Thanks for
sharing !
Sarah Hollingshead Ray
CatinaYou keep the bread and can eat it! If you use the dutch oven then the bread is crispy. You add it to hold up the chicken and then it gets crunchy! Its delicious. Thank you :))